Disclaimer: This content included affiliate products.
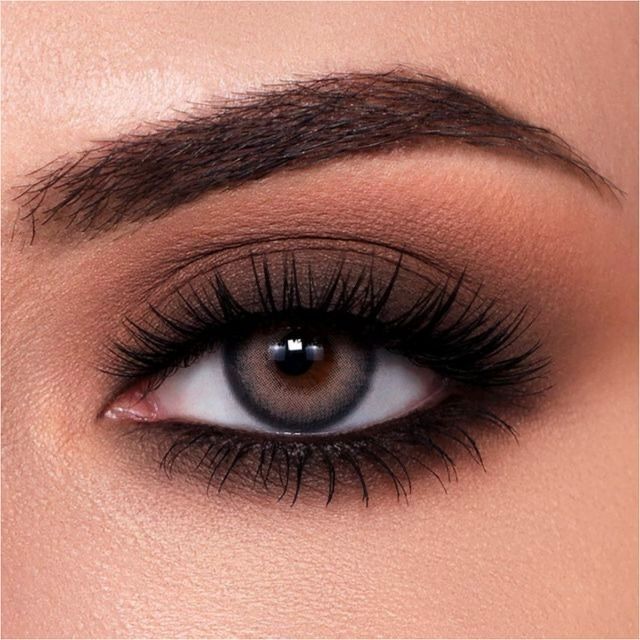
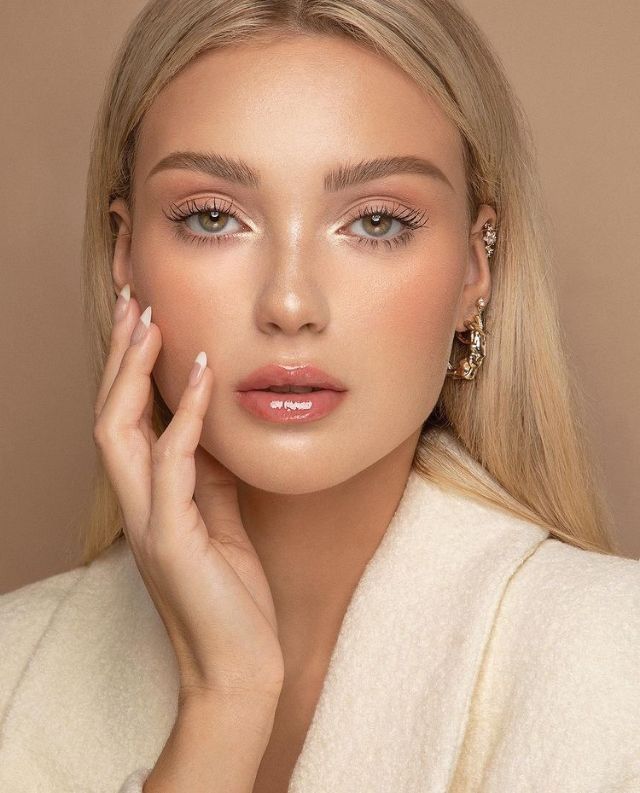
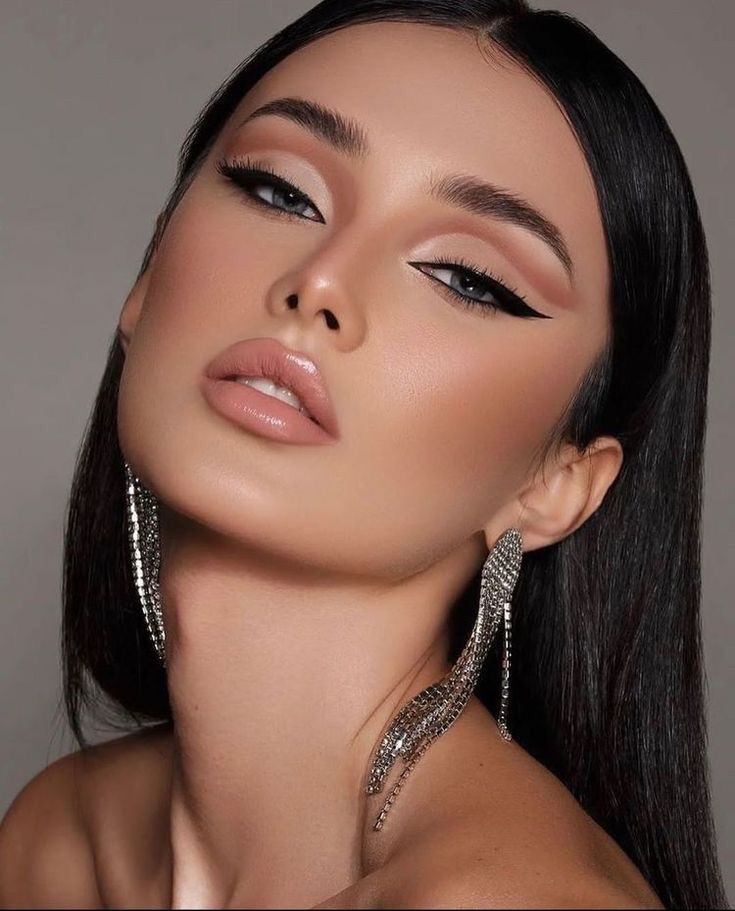
The smoky eye is a timeless makeup look that exudes sultry sophistication and adds instant drama to any occasion. Whether you’re heading to a glamorous event or simply want to elevate your everyday makeup routine, mastering the art of the smoky eye is a must. Follow this comprehensive step-by-step tutorial to achieve the perfect smoky eye look effortlessly.
Step 1: Prep Your Eyes
Before diving into the makeup application, ensure your eyelids are clean and primed for long-lasting wear. Apply an eyeshadow primer or a dab of concealer to even out the skin tone and create a smooth canvas for the eyeshadow.

Step 2: Choose Your Eyeshadow Palette
Selecting the right eyeshadow palette is key to achieving a flawless smoky eye. Opt for a palette with a range of complementary shades, including a deep matte black or charcoal, a mid-tone transition shade, and a highlight color.

Step 3: Define the Crease
Using a fluffy blending brush, apply the mid-tone transition shade to the crease of your eyelid, blending back and forth in windshield wiper motions. This will create depth and dimension, serving as the base for your smoky eye.
Step 4: Apply the Dark Eyeshadow
With a smaller, denser brush, pack the deep matte black or charcoal eyeshadow onto the outer corner of your eyelid, focusing on the outer V shape. Blend the color inward towards the center of your lid, gradually building intensity for a seamless gradient effect.
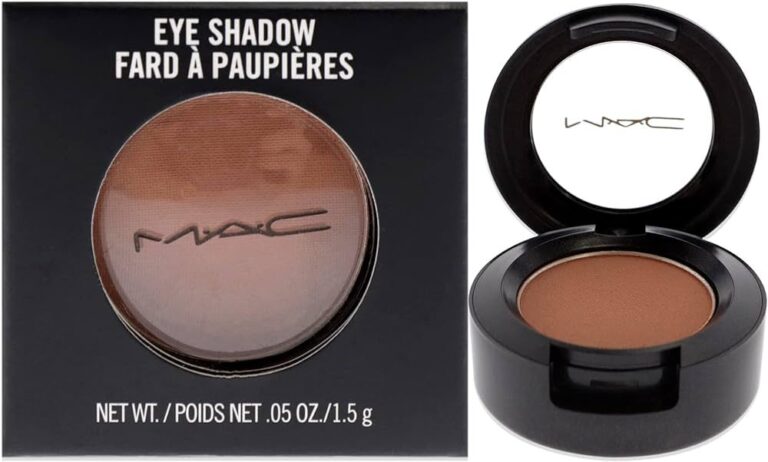
Step 5: Blend, Blend, Blend
Blend the edges of the dark eyeshadow with a clean blending brush to soften any harsh lines and create a smooth transition between shades. This step is crucial for achieving a perfectly blended smoky eye look.
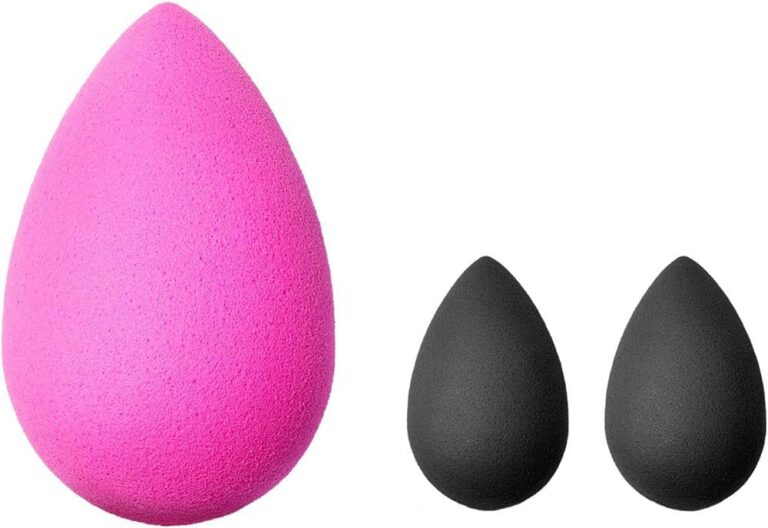
Step 6: Highlight the Brow Bone
Using a light, shimmery eyeshadow or highlighter, apply a small amount to the brow bone and inner corner of the eye to add brightness and lift to the eyes. This will also help to accentuate the smoky effect and make your eyes appear more awake.
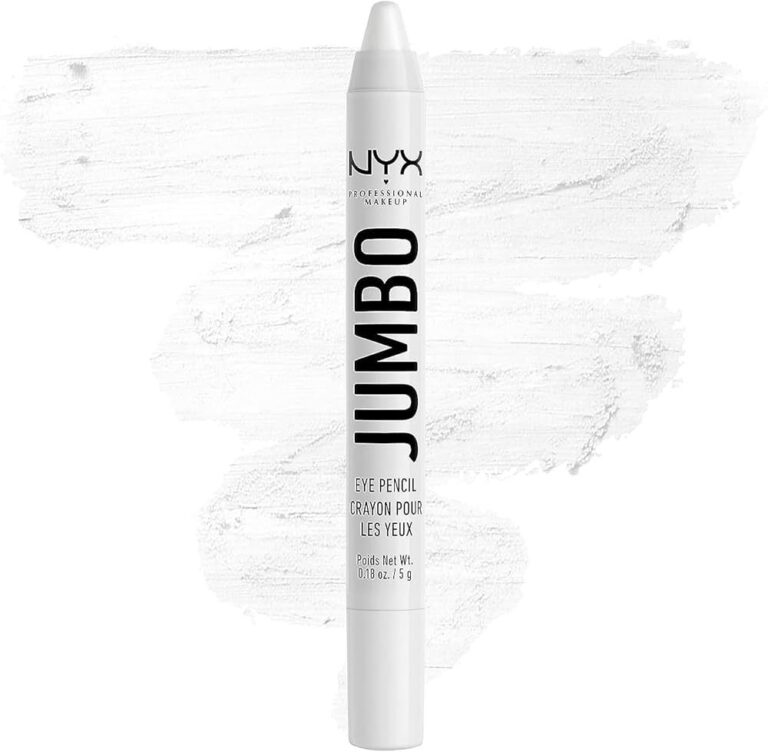
Step 7: Line the Eyes
For added definition, line your upper lash line with a black eyeliner pencil or gel eyeliner. You can also smudge a bit of the dark eyeshadow along the lower lash line for a smoldering effect.
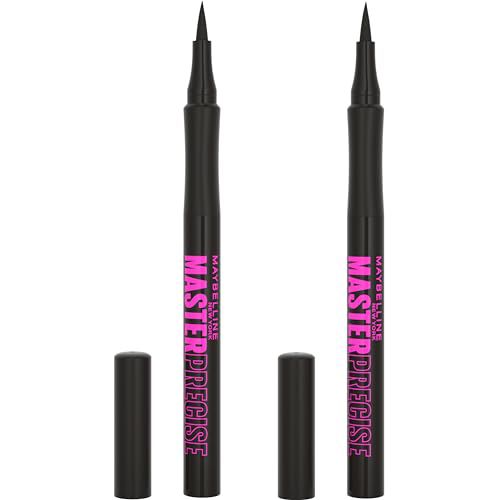
Step 8: Curl Your Lashes and Apply Mascara
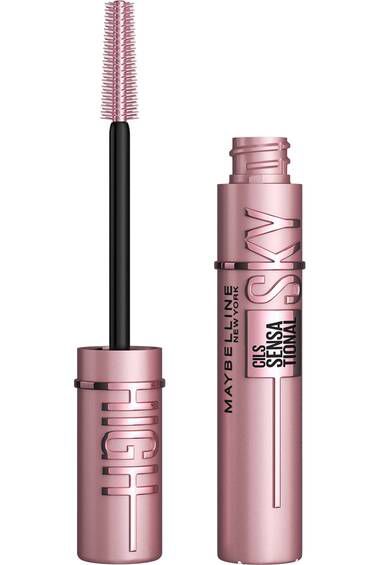
Finish off your smoky eye look by curling your lashes with an eyelash curler and applying several coats of volumizing mascara to both the top and bottom lashes. This will help to open up your eyes and complete the sultry vibe of the smoky eye.
Step 9: Clean Up Any Fallout
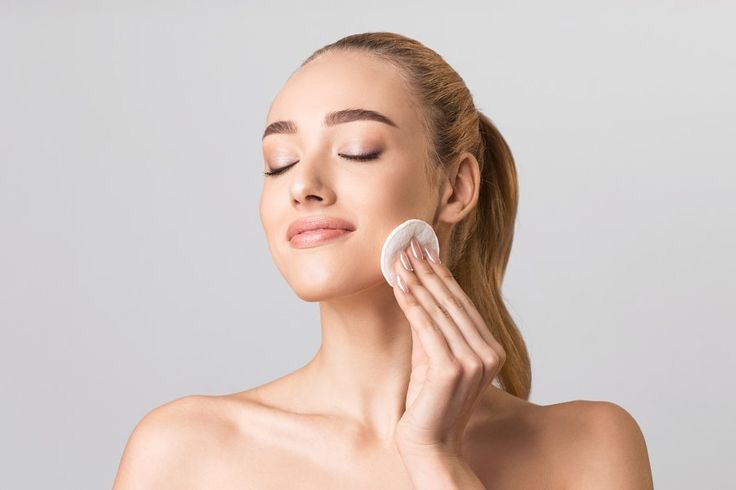
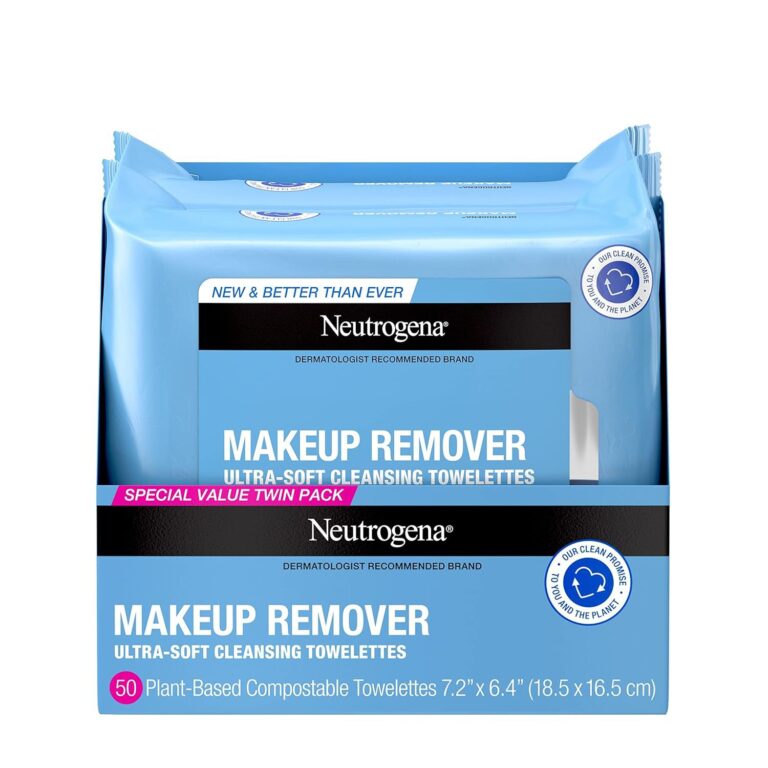
Use a clean makeup brush or a makeup wipe to sweep away any fallout or excess eyeshadow that may have fallen onto your cheeks during the application process. This will ensure a clean and polished finish to your smoky eye look.
Step 10: Optional: Add False Lashes
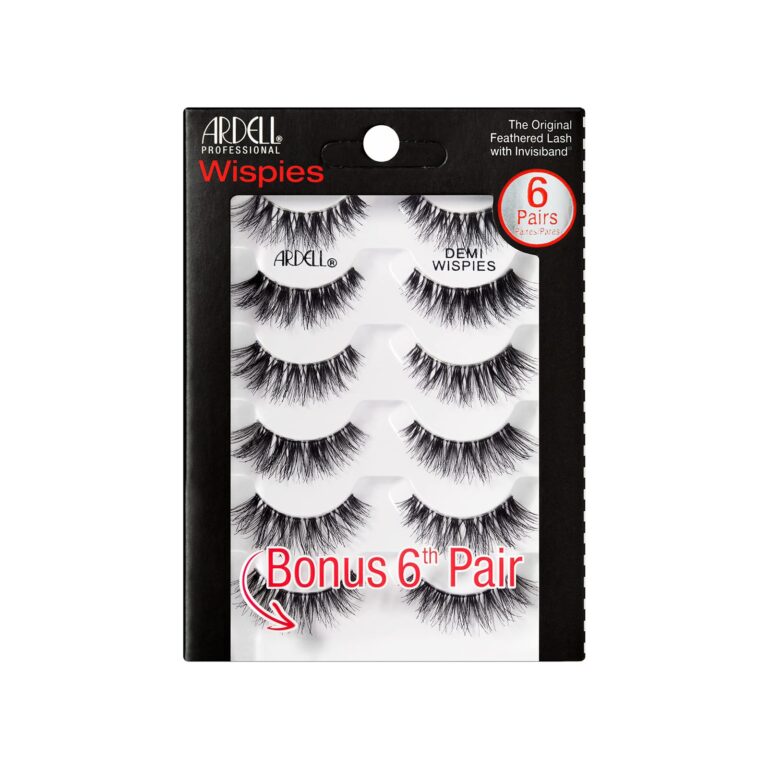
For extra drama and intensity, consider applying a pair of false lashes to your smoky eye look. Choose lashes that are long and voluminous to enhance the overall impact of the smoky eye.
Final Thoughts:
With a bit of practice and patience, mastering the smoky eye look is well within reach. Follow these step-by-step instructions and unleash your inner makeup artist to create stunning smoky eye looks that are sure to turn heads wherever you go. Whether you’re a beginner or a seasoned makeup enthusiast, the smoky eye is a versatile and classic makeup look that never goes out of style.

